
Circuit bent Yamaha PortaSound PS-1
While searching for circuit-bendable cheap old drum machines on a second hand platform, my sister tells me that there might be something of interest on the attic…
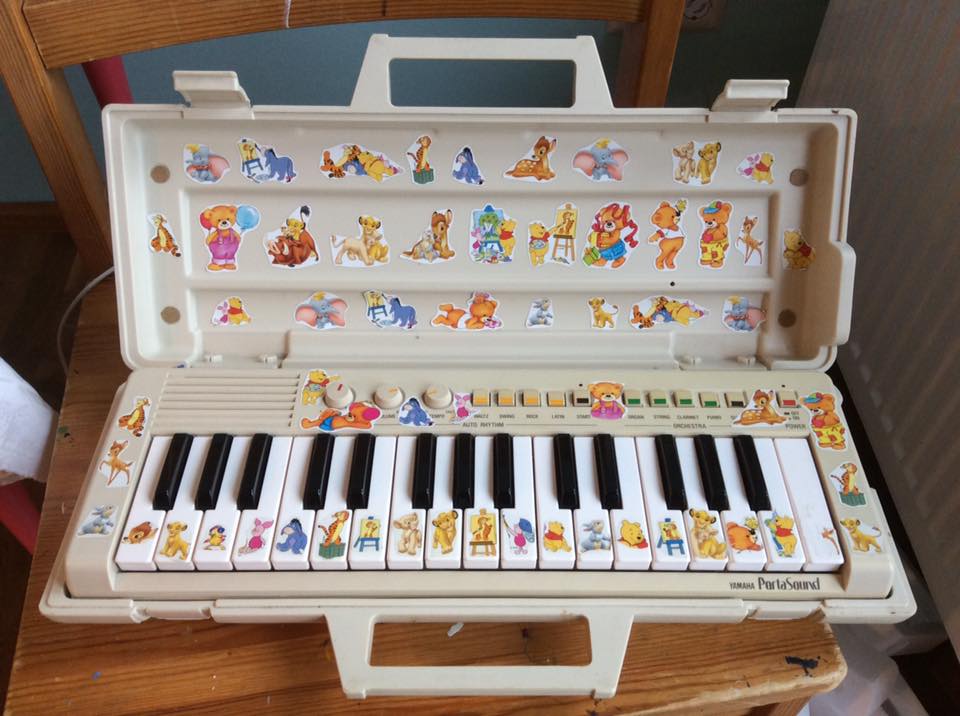 Amazingly beautiful sticker design by my niece Linda! timeless! LOL ;-)
First soundcheck before opening it - sounds very nice already!
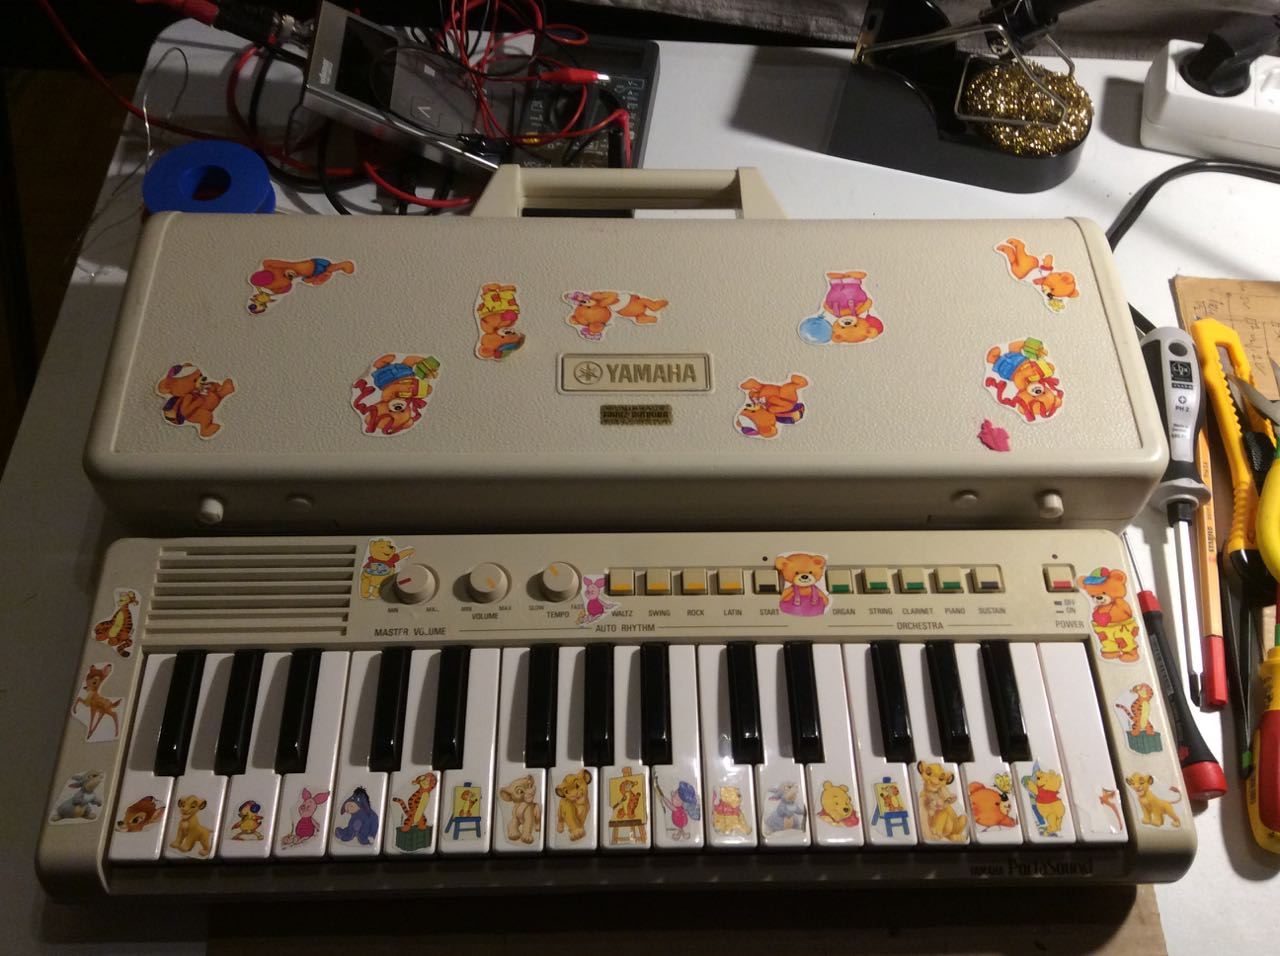
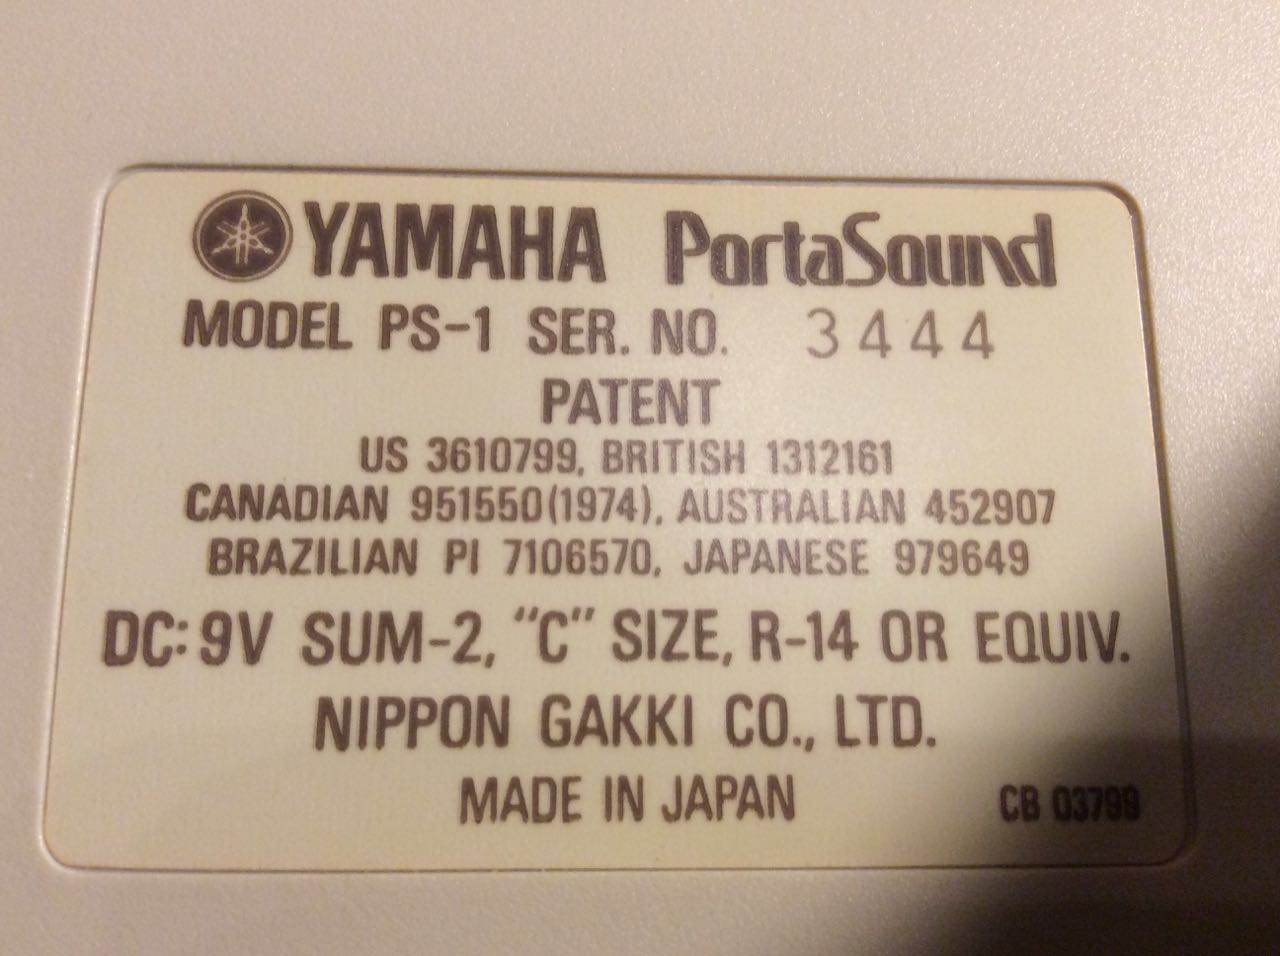
The PortaSound PS-1 was the first in a series of Yamaha Homekeyboards around 1980, there was a PS-2 that had more keys and additional functions, and an even bigger one called PS-3.
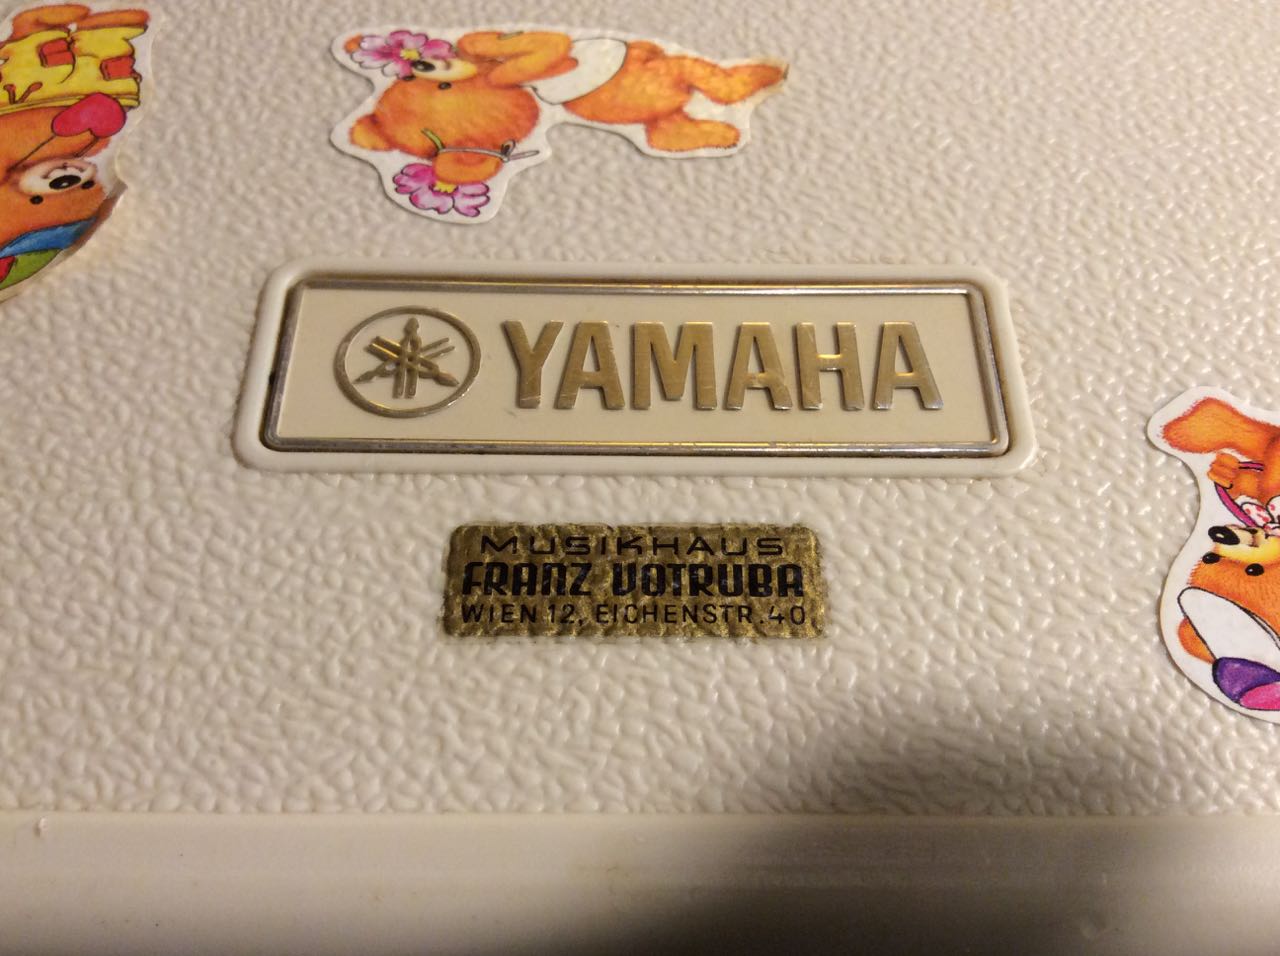
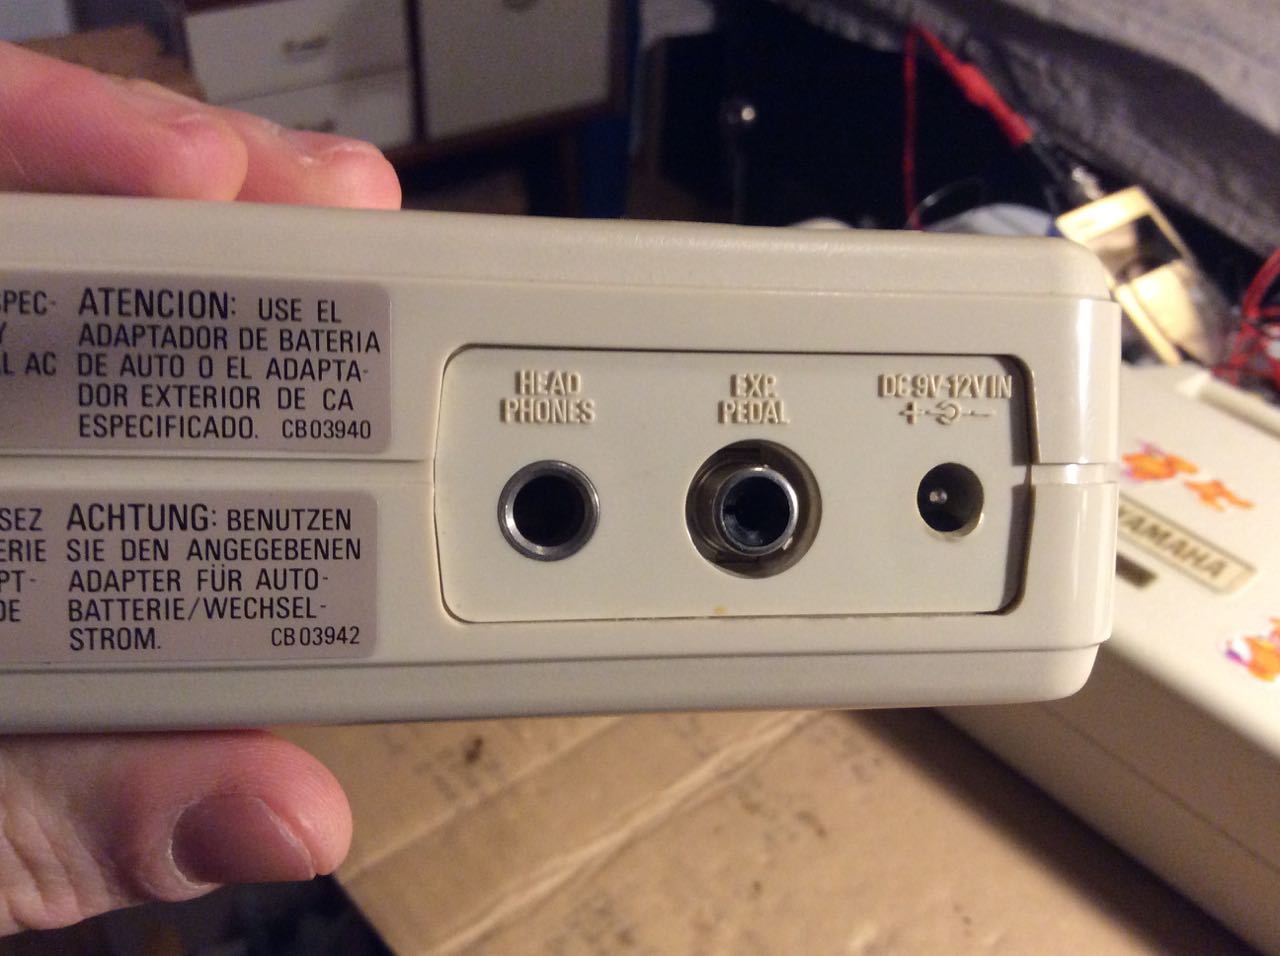
The keyboard comes in a nice "travel case", was obviously bought at Viennas music store Votruba, has a 6.3 inch headphone jack (!) and an expression pedal connector (controls volume). A sustain pedal plug would have been nice too but you can't have everything
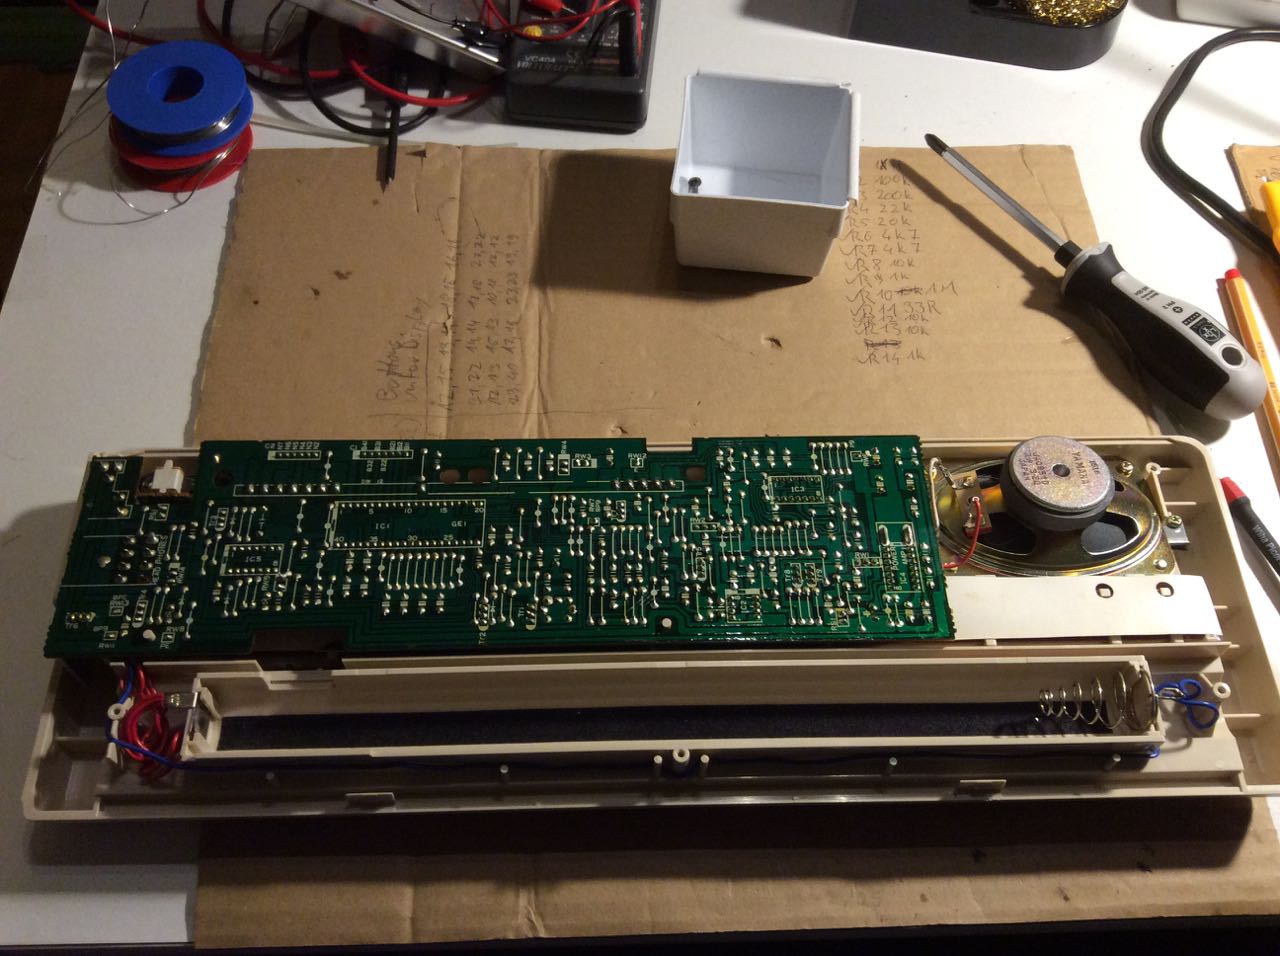
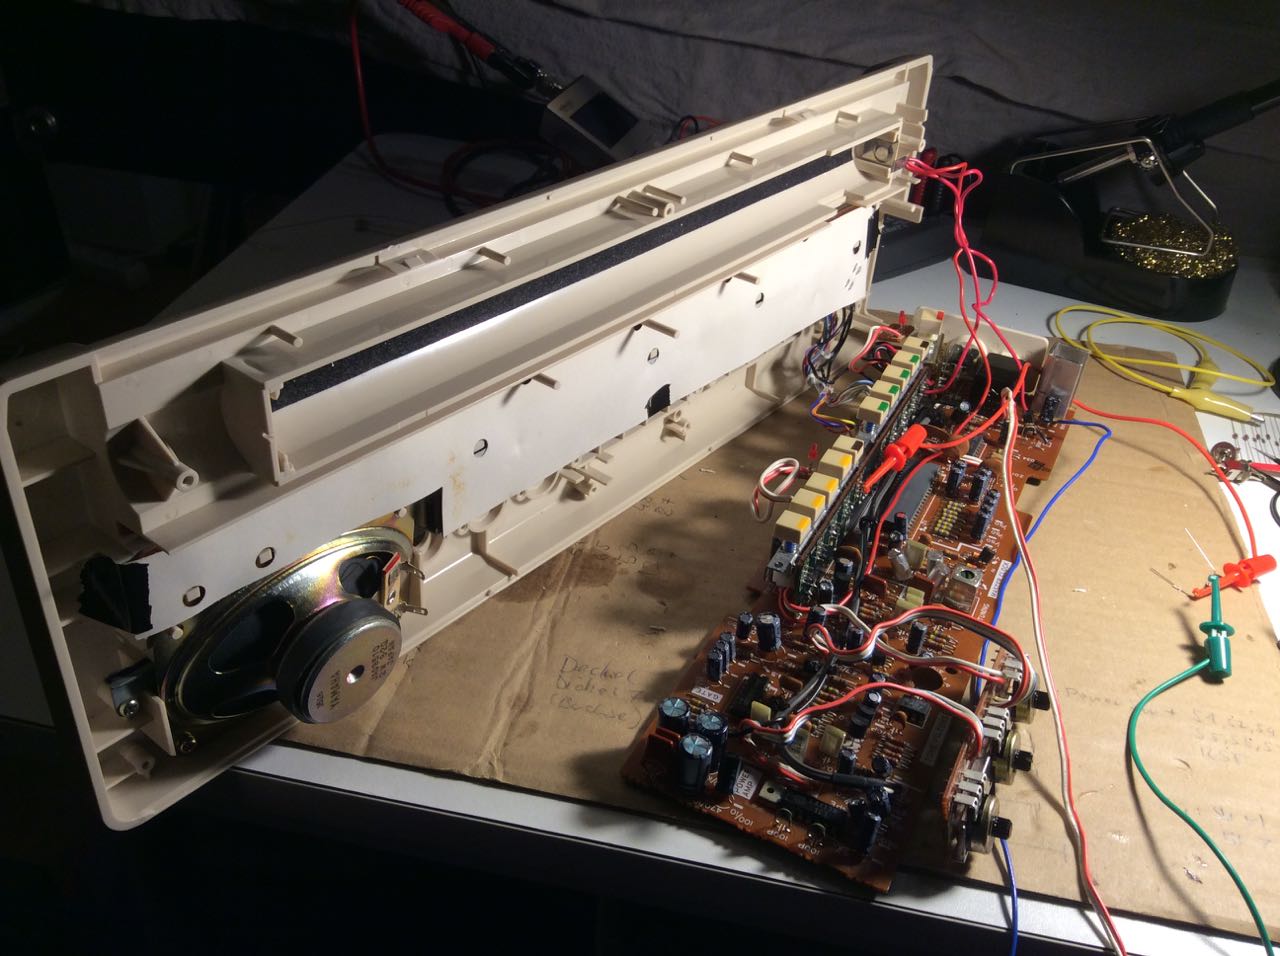
Through-Hole components! It is old enough to not have SMD! :-))
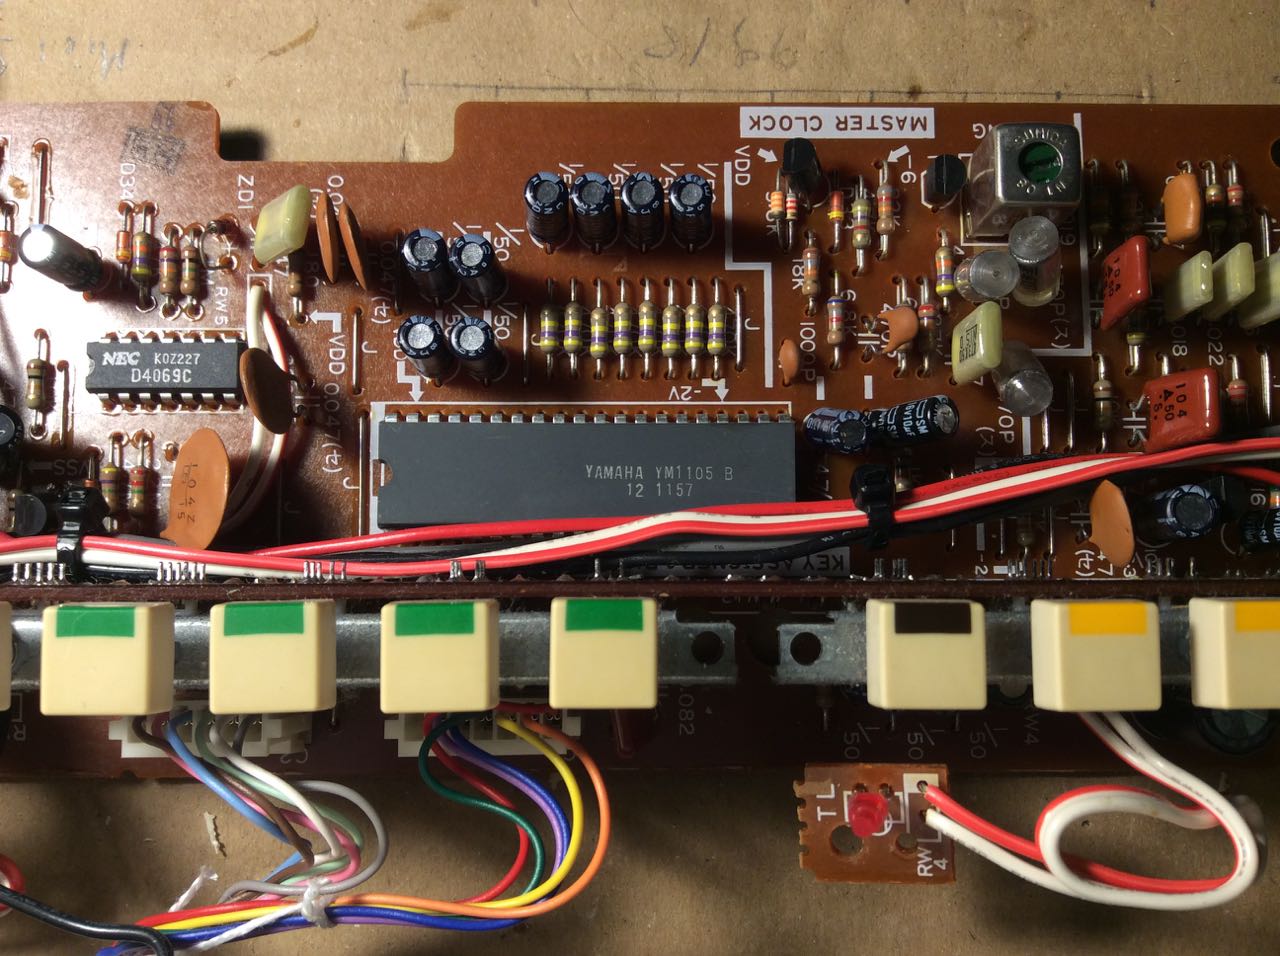
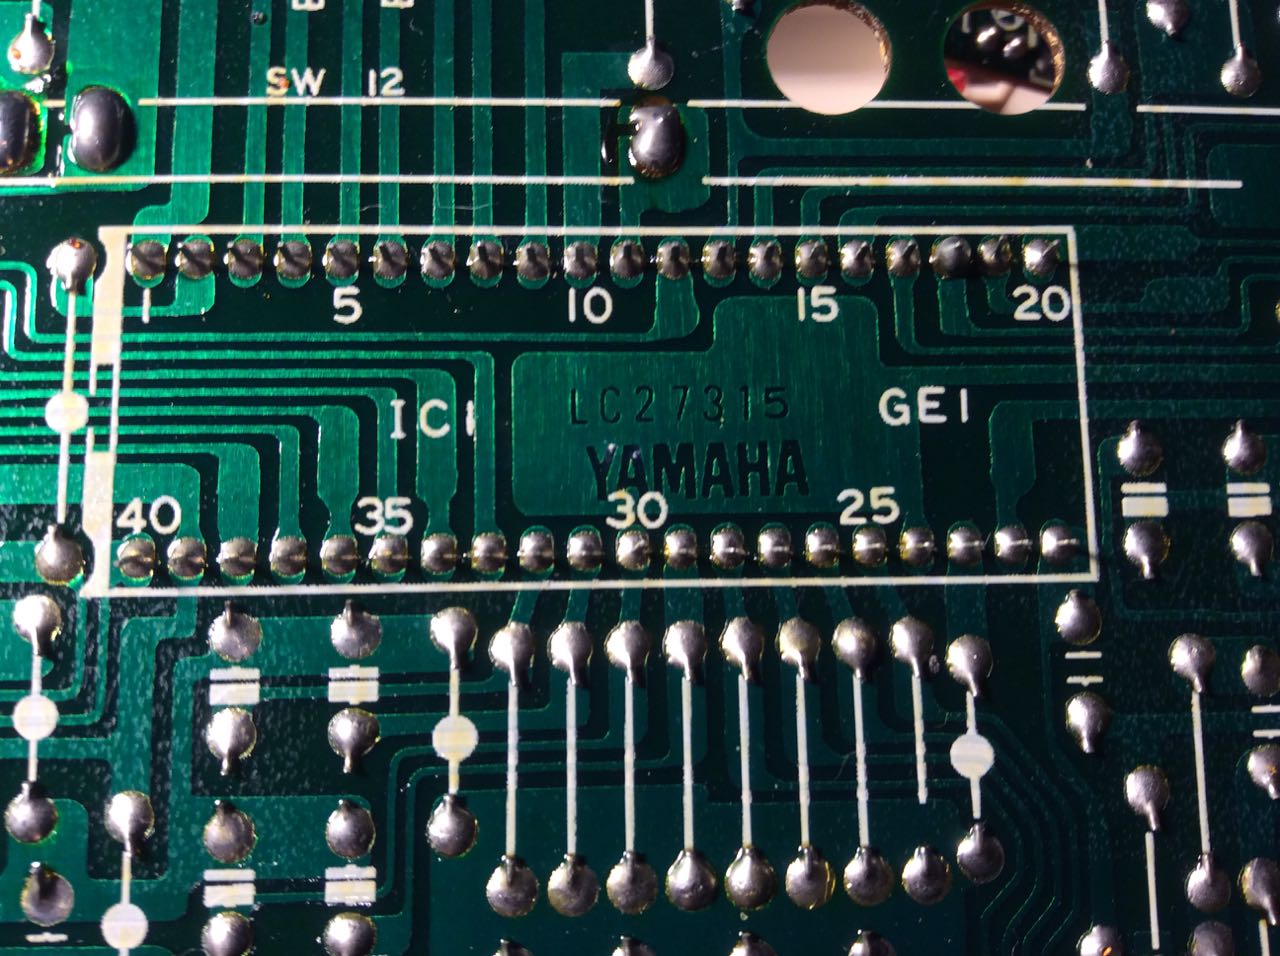
Unfortunately the CPU is not exactly the same as the one built into the PS-2, so just copying the circuit bending advices found here http://weltenschule.de/TableHooters/Yamaha_PS-2.html, probably won't be enough. Hopefully stuff works quite similar anyway
Starting to explore…
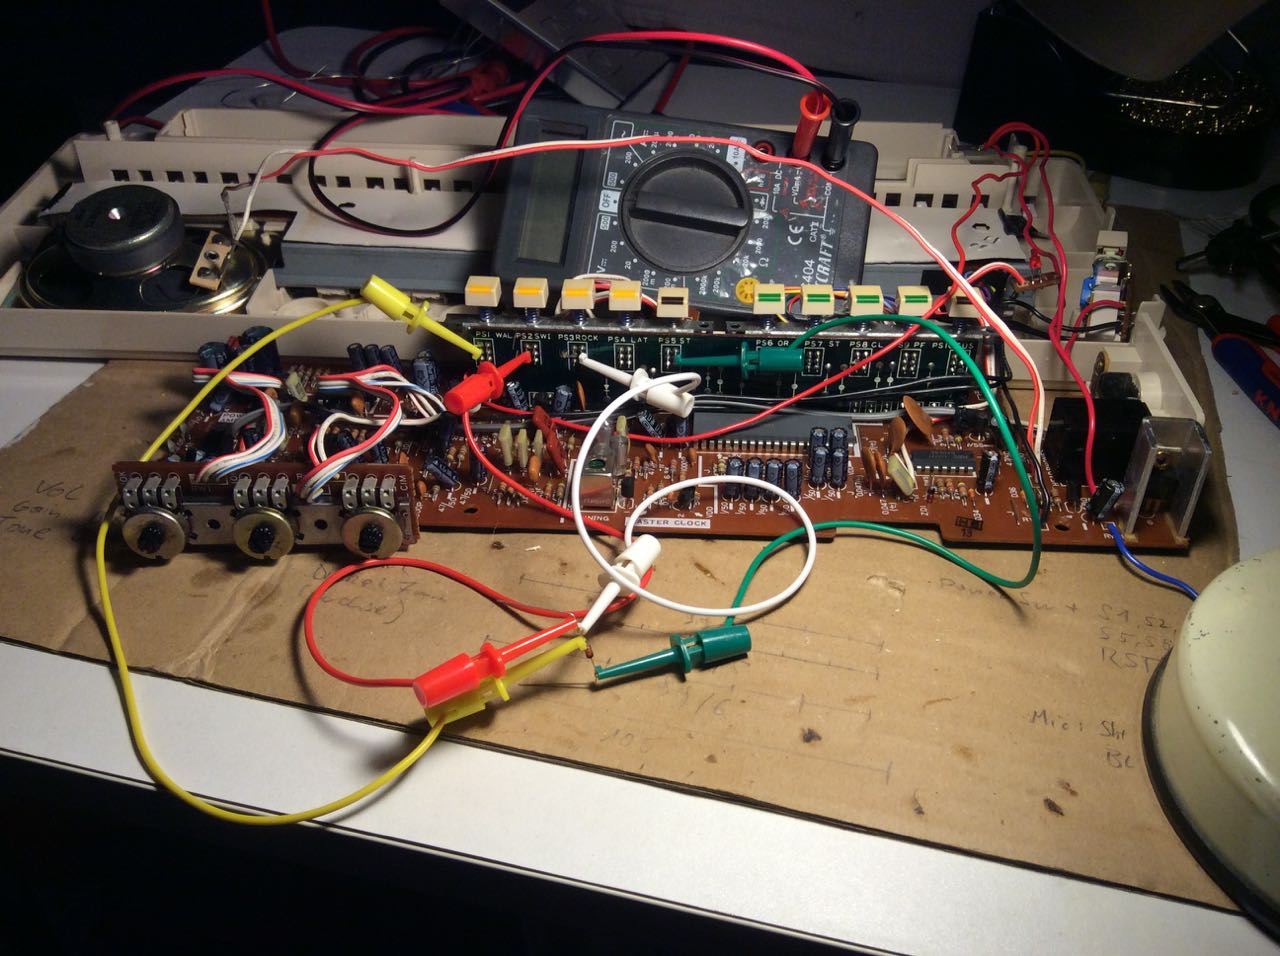 First mod working: Out of the box the 4 rhythms can't be combined to play simultaneously. With some trace cutting and rewiring it's possible. I followed the instructions on this site http://weltenschule.de/TableHooters/Yamaha_PS-2.html. For the PS-1 this mod works almost exactly the same. What is not explicitely stated on the site is that you don't have to do any rewiring on the most right rhythm button (PS4 Latin)
Demonstration of the rhythm combo mod. watch from 1:50 for some swinging latin rock techno madness!

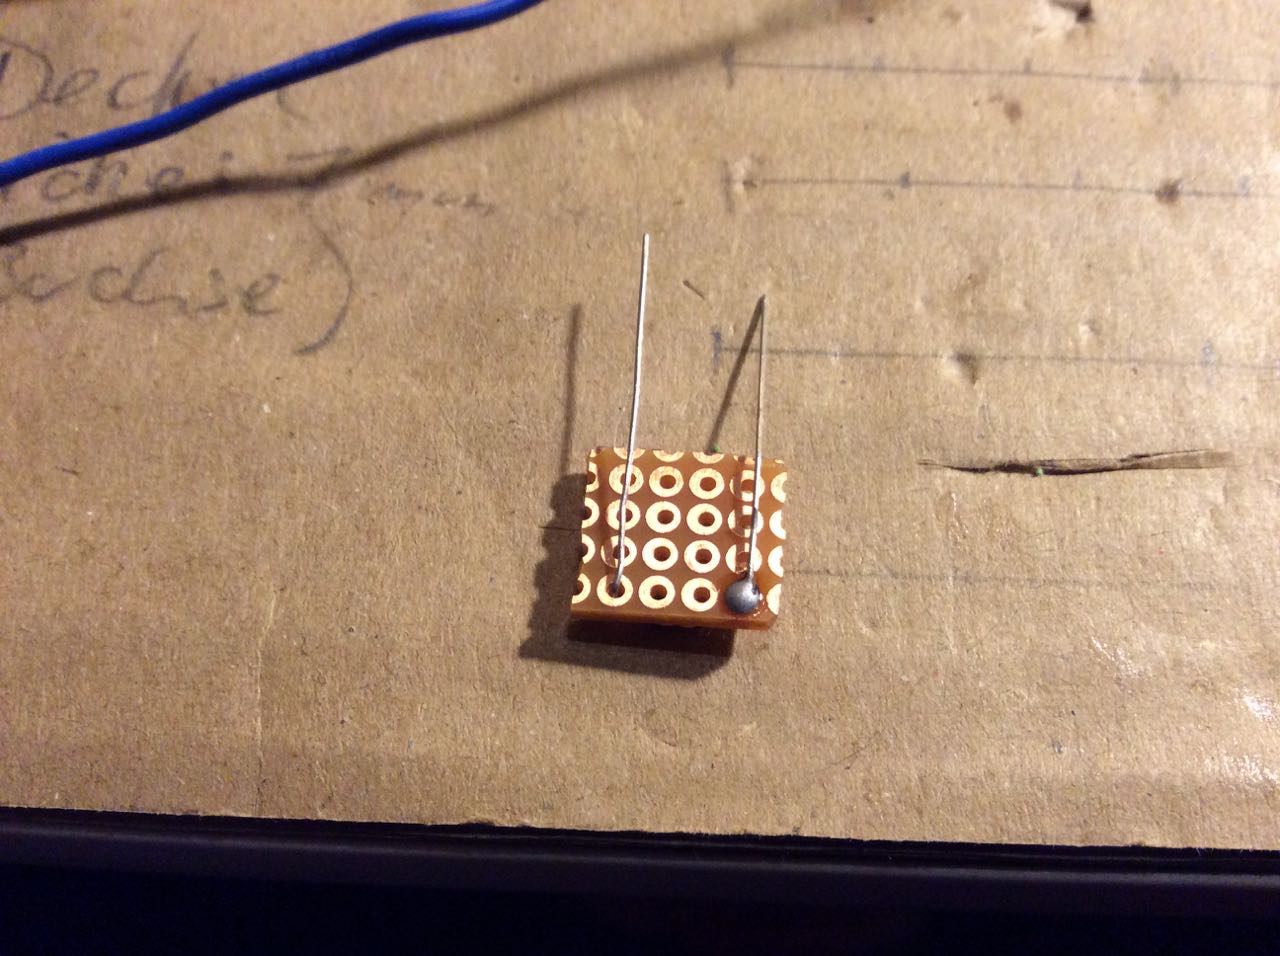
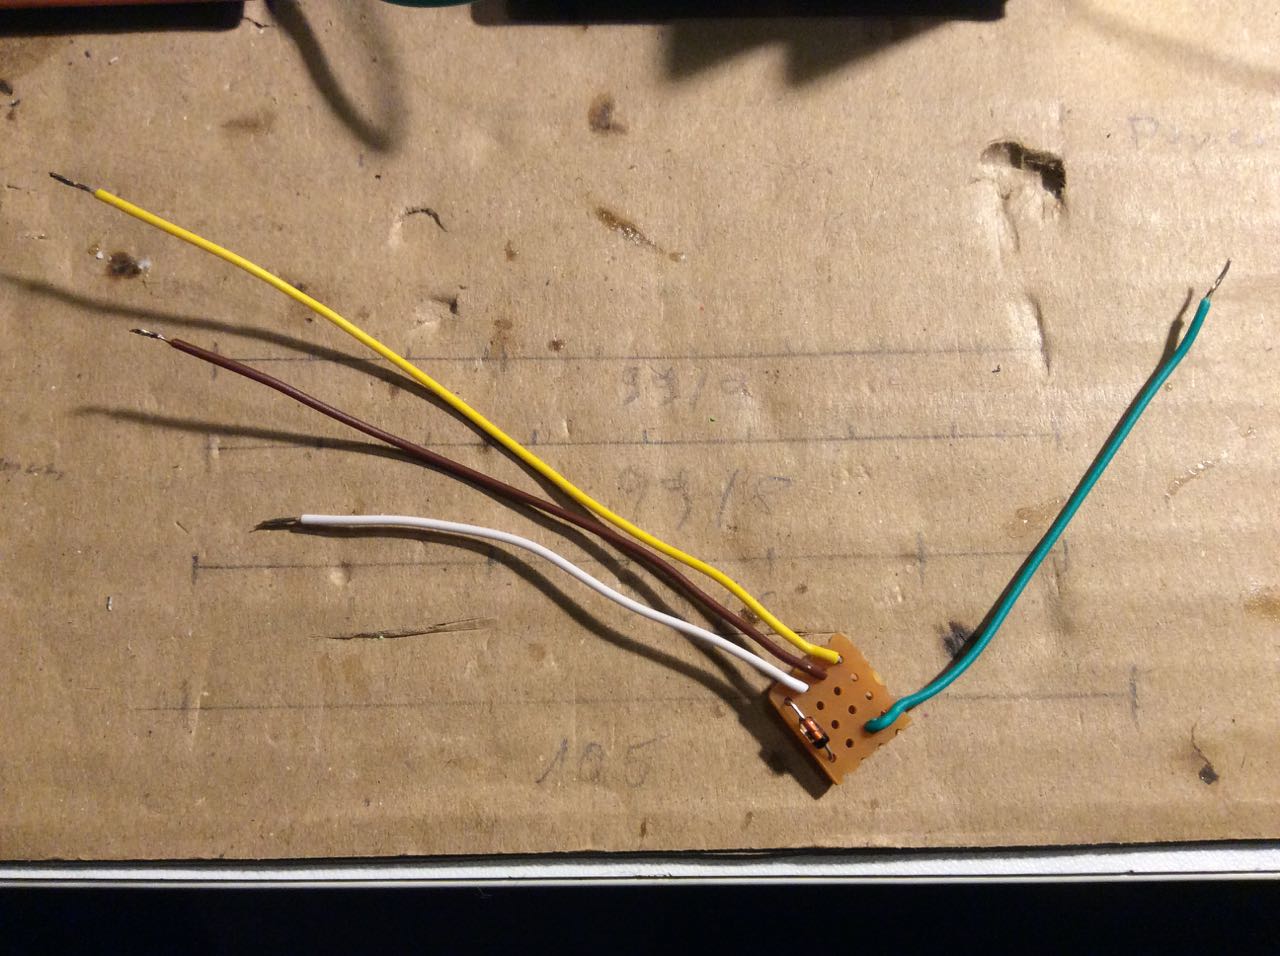
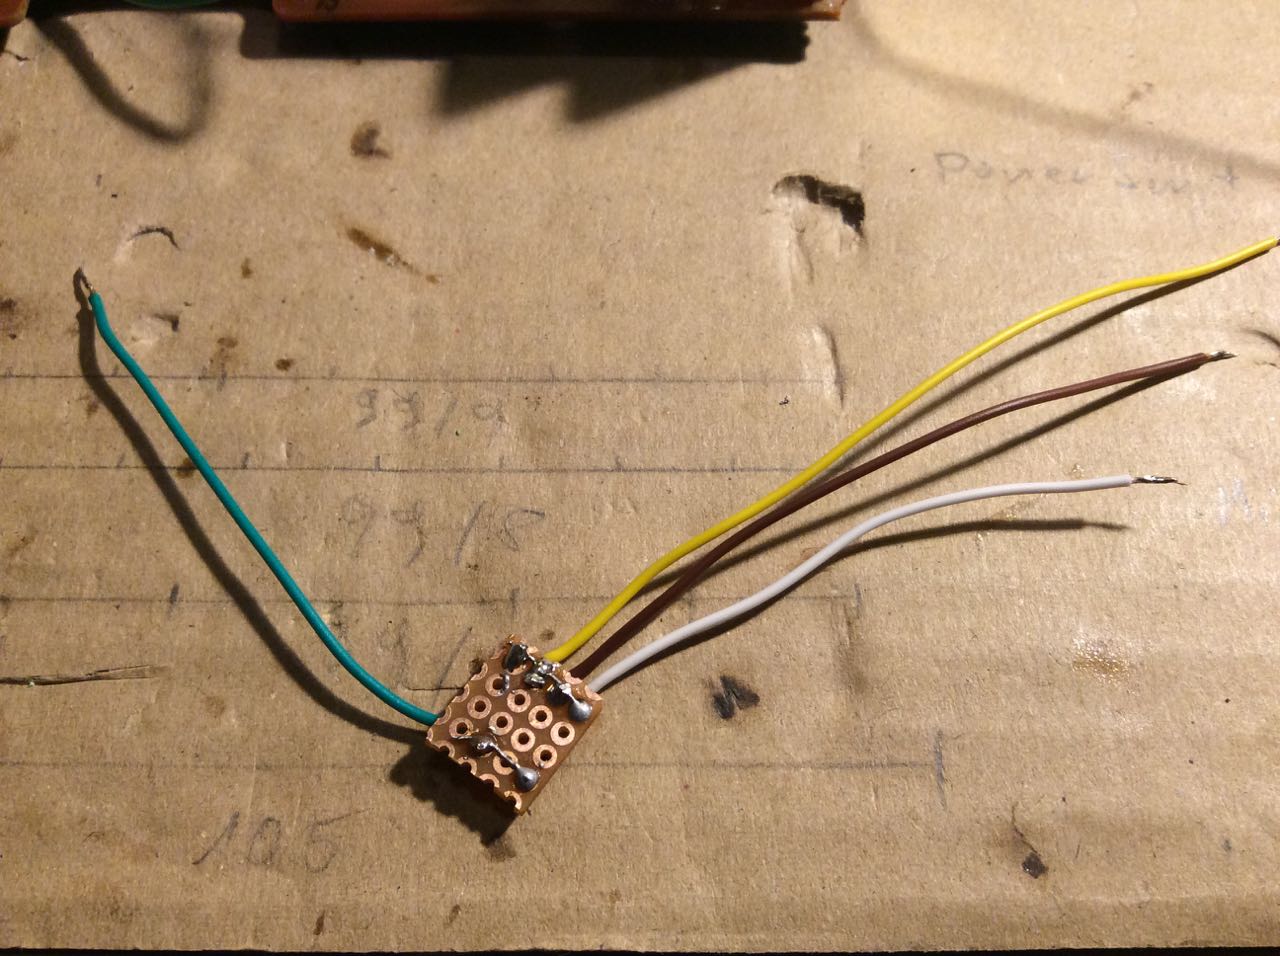
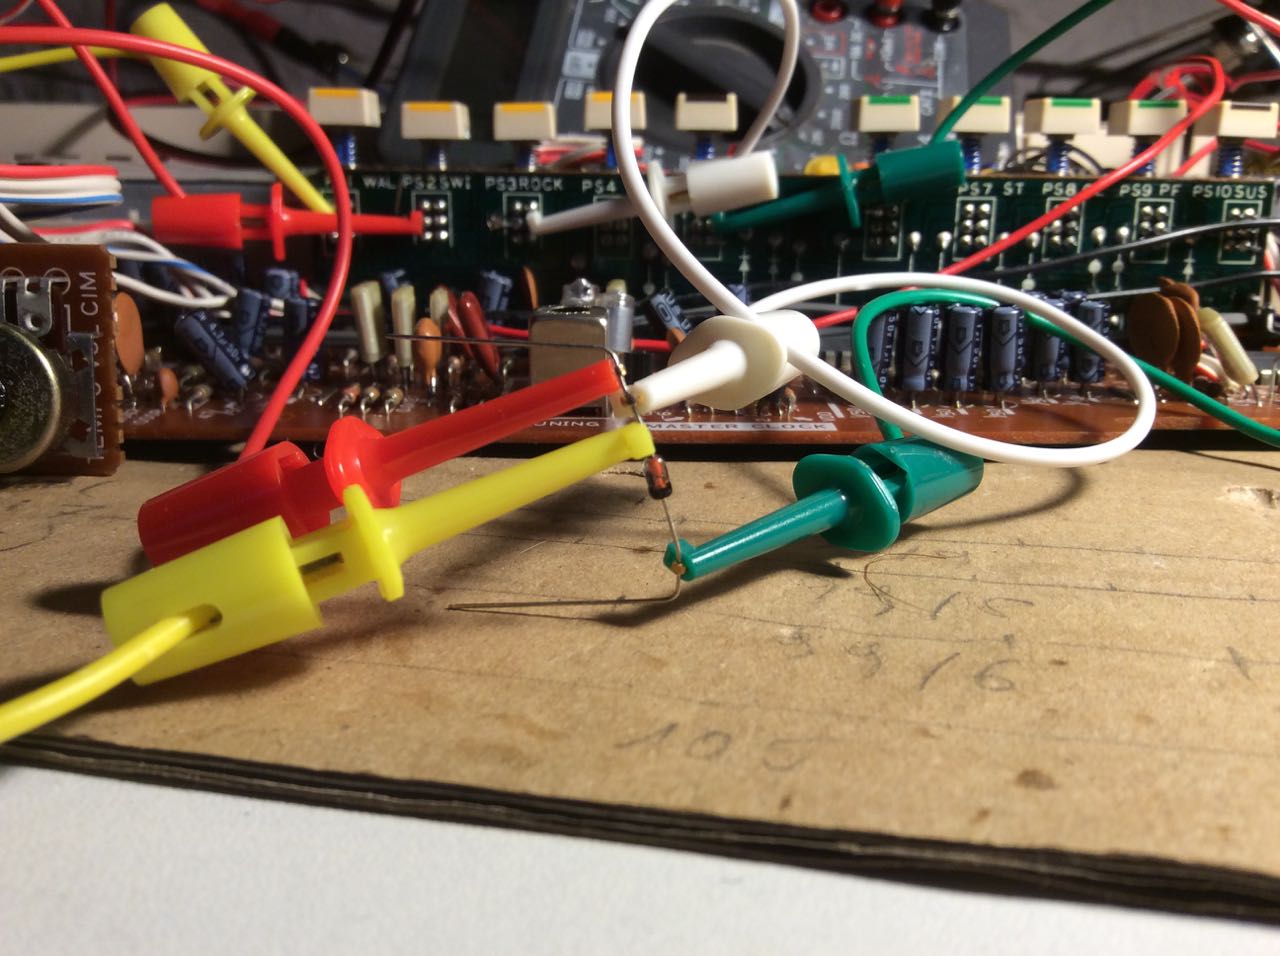
To make the mod permanent, I soldered the diode with some wires to a piece of perfpoard…
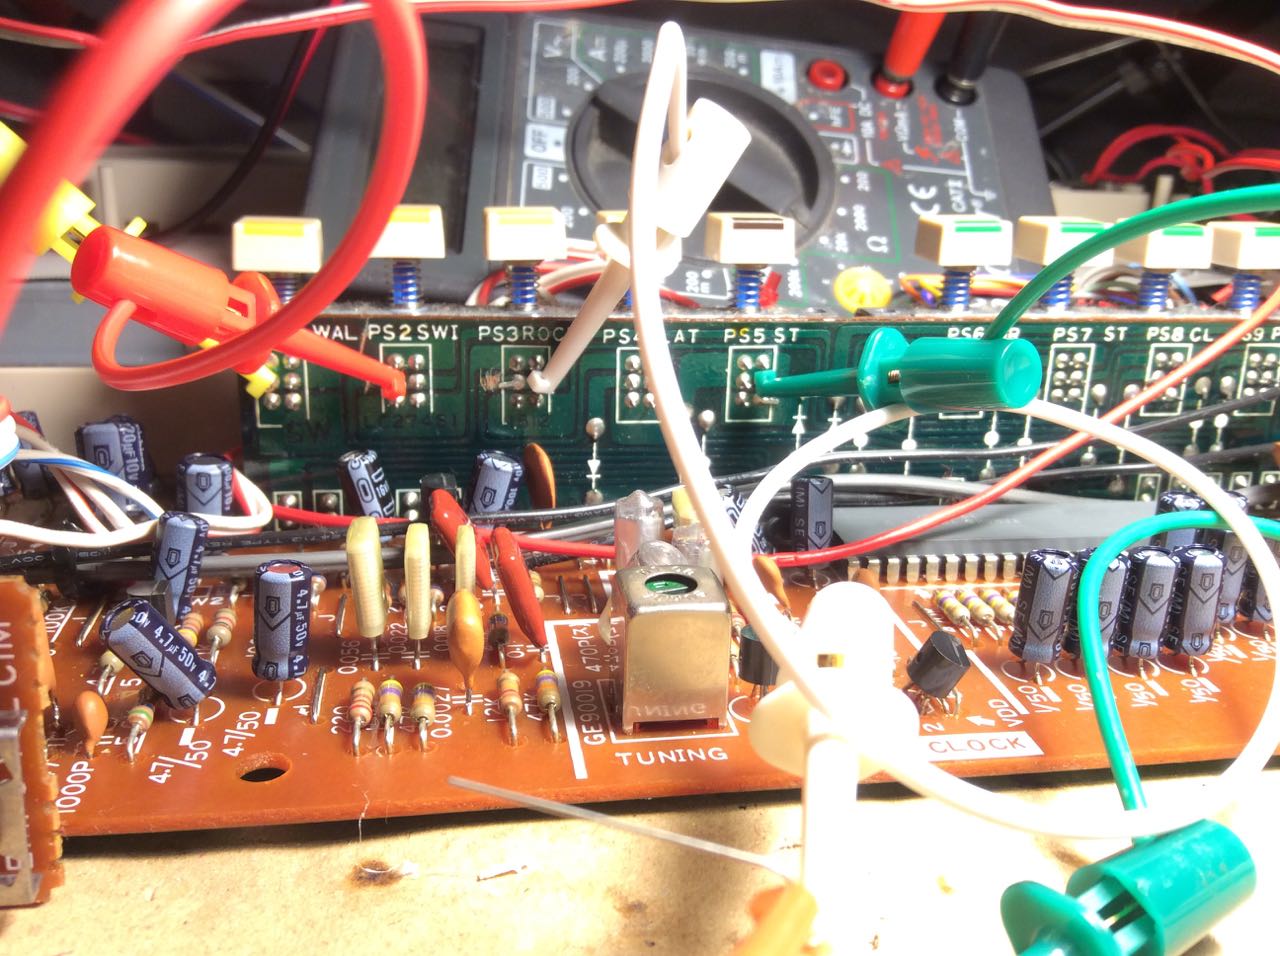
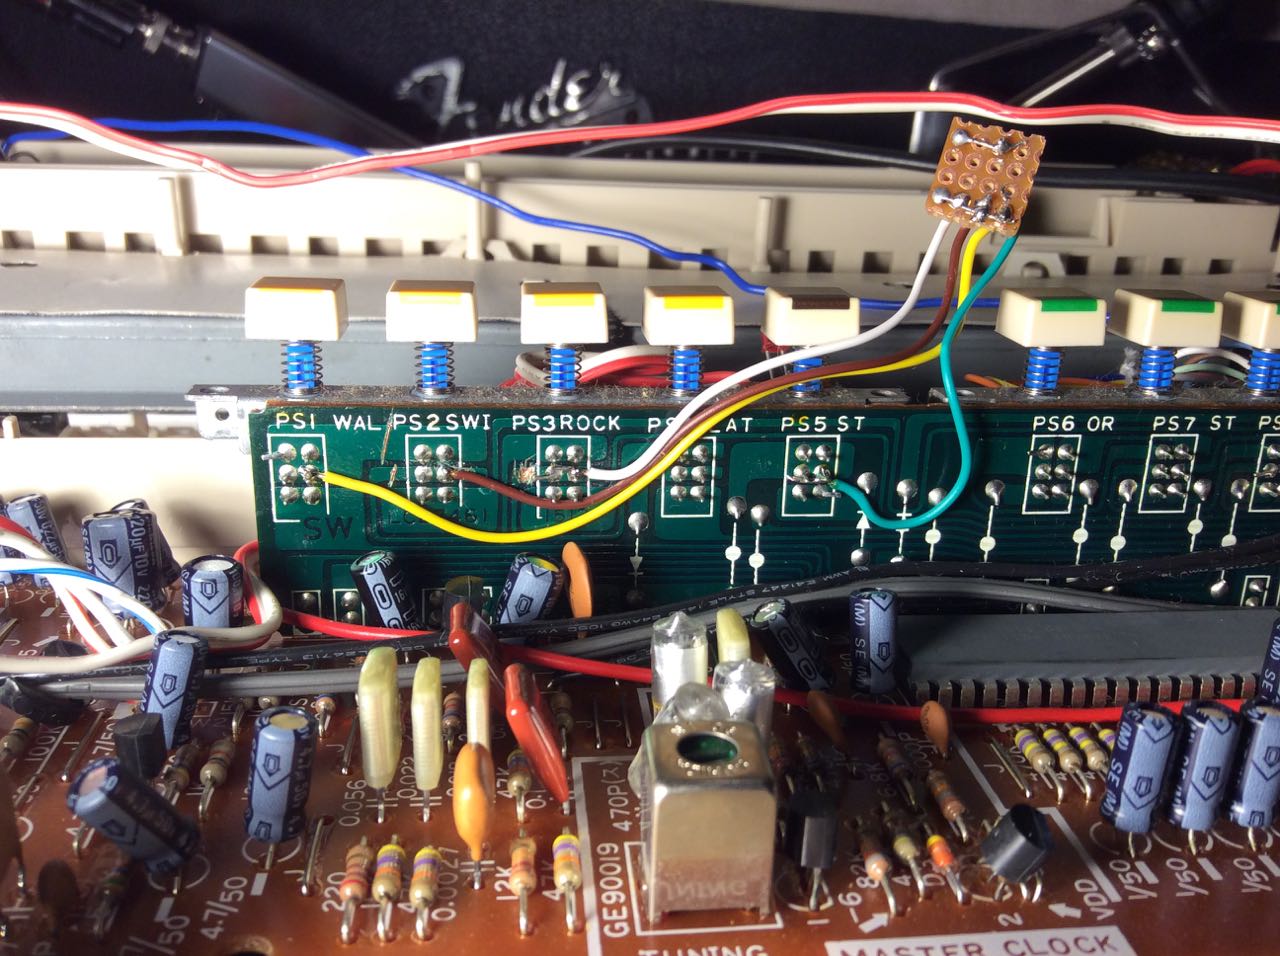 … and connected it to the switch board. The traces to the two middle pins on switches PS1, PS2 and PS3 had to been cut through to break the connection to the next switch.
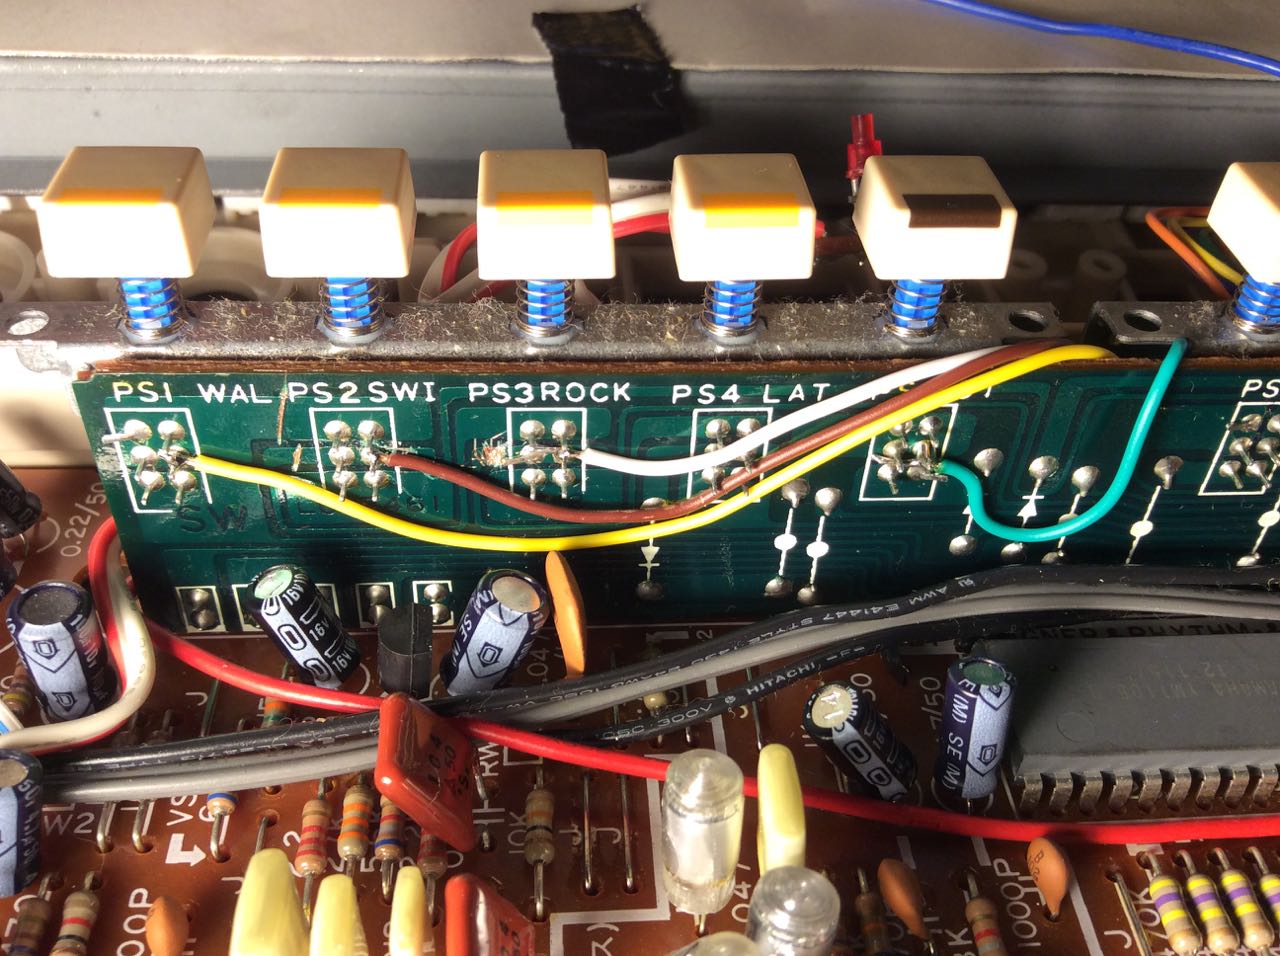 The cut traces in more detail.
At first I wanted to hide the diode perfboard behind the switch board but that didn't work out due to space problems when closing the keyboards case.
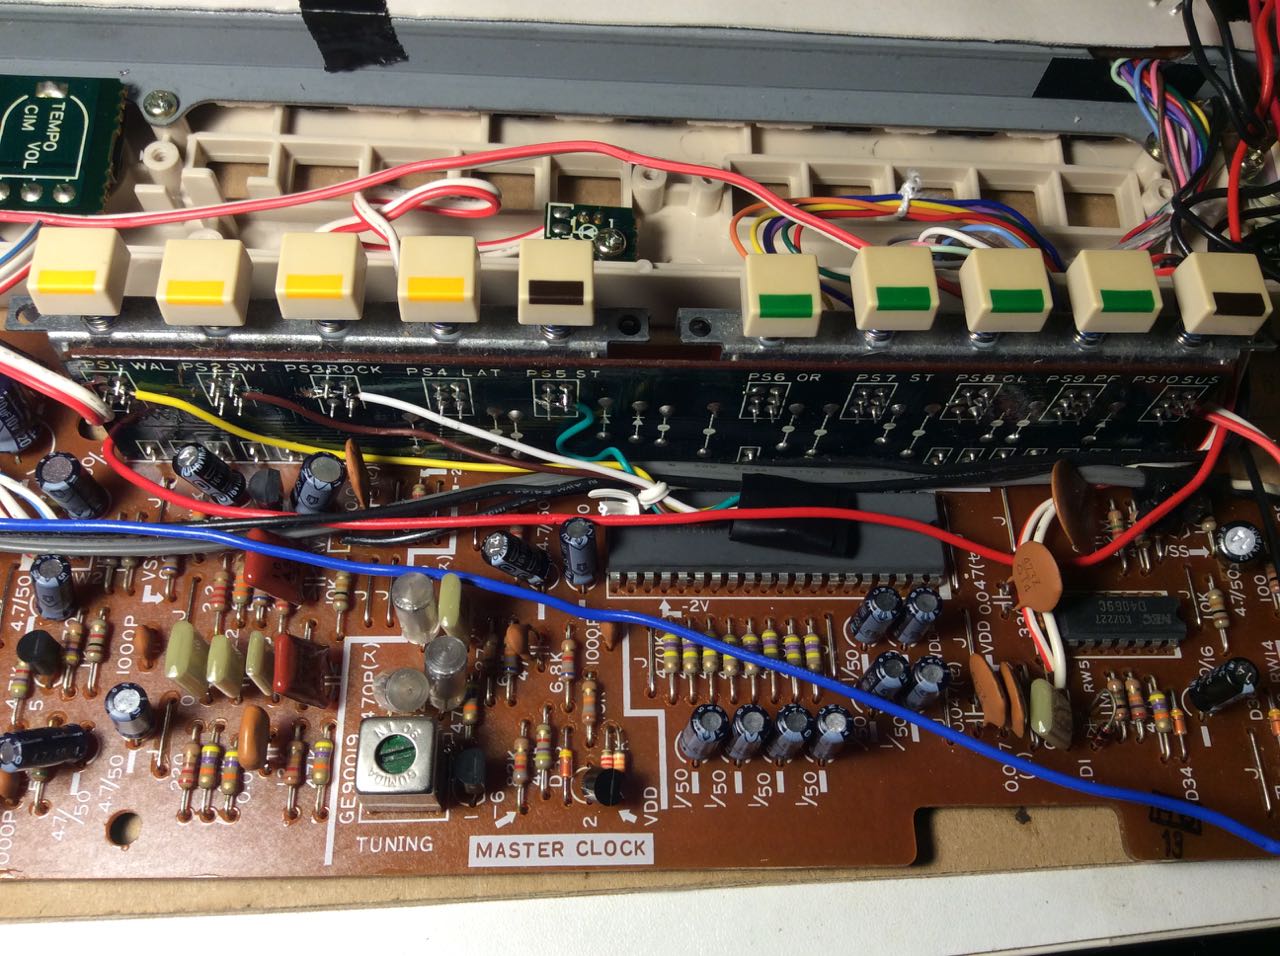 In the end I decided to just wrap it in some tape and put it on top of the CPU. Probably a safe place, I don't think it is heating up a lot there.